组装电脑怎样用光盘重装Win7完美系统【图文】
时间: 2018-02-12 来源:www.shenduwin10.com 作者:深度Win10系统
组装电脑一般会配置光驱,而且会随电脑附赠一张系统光盘,比较常见的是Windows7系统光盘,在电脑系统故障发生故障时,用户就可以通过光盘重装Windows7系统,虽然光盘重装系统步骤并不难,不过很多用户还是不了解组装电脑怎样用光盘重装Windows7系统,下面系统城小编跟大家分享光盘重装Windows7教程。
相关教程:win7原版光盘怎么安装
一、重装准备
1、配有光驱或外置光驱的电脑
2、备份C盘和桌面重要数据,避免数据丢失
3、系统光盘:怎么刻录win7系统安装光盘
4、操作系统:windows7破解版下载
二、从光盘启动设置
1、在开机或重启画面时,按下对应的按键进入BIOS,通常为DEL、ESC、F2、F1等;
2、按上下方向键选择Advanced BIOS Features回车;
3、选择1st Boot Device或First Boot Device回车;
4、选择CDROM回车,有些主板需按F5或PageUp或加号将CD/DVD移动到第一位;
5、接着再将2nd Boot Device设置成HDD或HardDrive,表示硬盘,最后按F10回车保存重启;
6、如果是常见BIOS界面,使用←→方向键移动至Boot或Startup,使用”-”或”+”号将带CD/DVD的选项移动到第一位;
7、按下F10(部分电脑为F4、F8)保存当前设置,按下回车键重启。
详细图文查看:怎么设置从光盘启动
三、组装电脑光盘重装windows7系统步骤如下
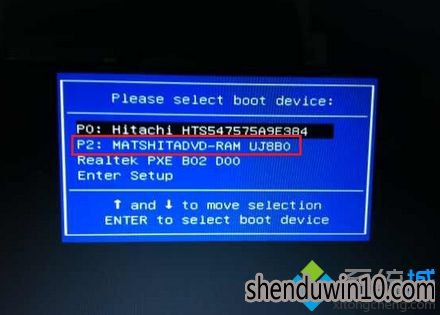
1、在组装电脑的光驱上放入windows7系统光盘,重启后不停按F12、F11、Esc等启动热键,在弹出的启动菜单中选择DVD选项,按下回车键,不支持快捷键的老旧机型参考第二点进入BIOS设置光驱为第一启动项;
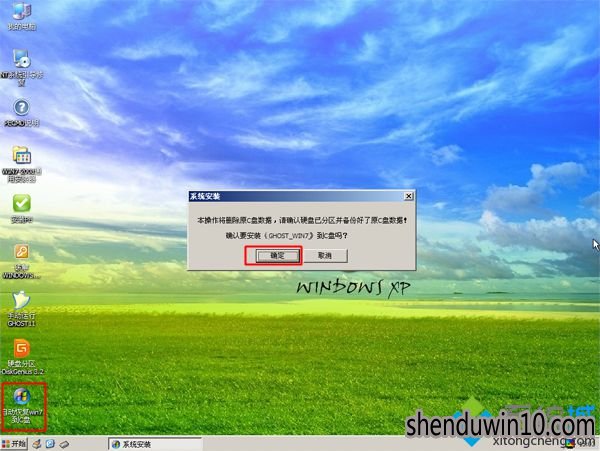

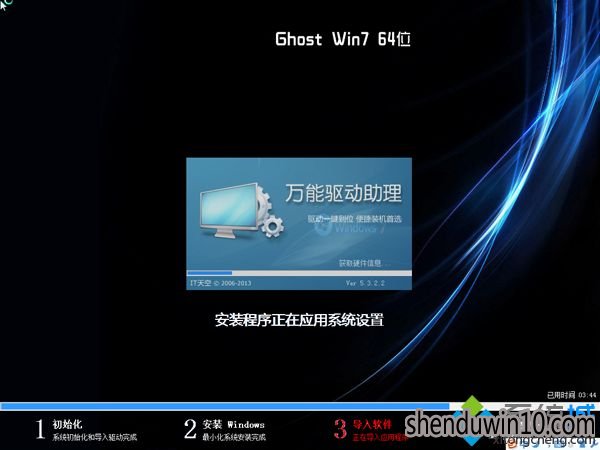
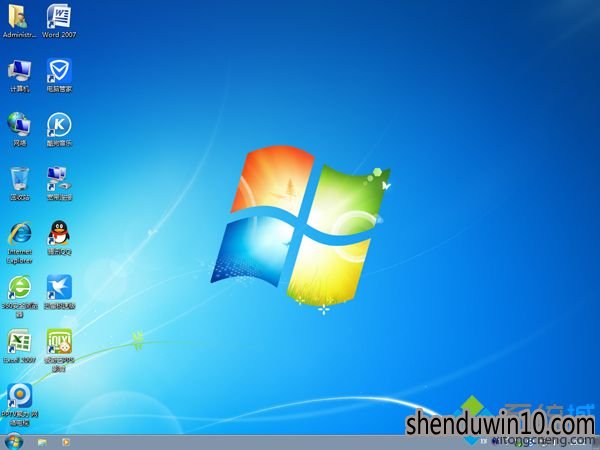
组装电脑怎样用光盘重装windows7系统的步骤就是这样了,如果你有系统光盘,就可以按照上面的步骤来重装Windows7系统。
相关文章
- 番茄花园 GHOST XP SP3 装机版 2016V09
- 老九系统 GHOST XP SP3 装机版 2016V09
- 雨林木风 GHOST XP SP3 装机版 2016V09
- 新萝卜家园 GHOST XP SP3 装机版 2016V09
- 深度技术 GHOST XP SP3 装机版 2016V09
- 电脑公司 GHOST XP SP3 装机版 2016V09
- 新萝卜家园 GHOST XP SP3 可靠装机版 2016年09月
- 番茄花园 GHOST XP SP3 珍藏装机版 2016年09月
- 深度技术 GHOST XP SP3 优化装机版 2016年09月
- 电脑公司 GHOST XP SP3 完美装机版 2016年09月
深度技术WIN10系统
- 1深度技术 Ghost Win10 x64 快速装机版 V201
- 2深度技术Ghost Win10 (32位) 安全稳定版201
- 3深度技术Ghost Win10 X32位 完美装机版2017
- 4深度技术 Ghost Win10 64位 五一企业装机版
- 5深度技术 Ghost Win10 32位 专业极速版 201
- 6深度技术 Ghost win10 x64 新年贺岁版 V201
- 7深度技术Ghost Win10 X64 专业增强版 V2016
- 8深度技术Ghost Win10 x64 收藏装机版V20171
- 9深度技术Ghost Win10 32位 专业版 2016.08(
- 10深度技术Ghost Win10 64位 增强装机版 2016
深度技术WIN10系统下载榜
 深度技术Ghost Win10 (X32) 标准装机版V201712(激活版)
  深度技术 GHOST WIN10 X86 装机版 V2015.01
  深度技术 Ghost win10 x64 新年贺岁版 V2015.03
  深度技术Ghost Win10 64位 专业版 2016.08(永久激活)
  深度技术 Ghost Win10 X64 特别装机版 2016.03
  深度技术Ghost Win10 x32位 典藏装机版V201710(自动激活)
 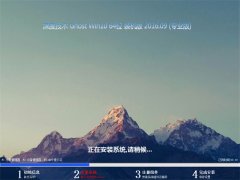 深度技术 Ghost Win10 64位 办公装机版 2016年09月
 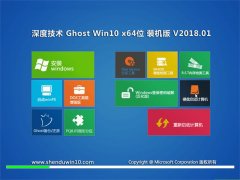 深度技术Ghost Win10 (64位) 家庭装机版2018.01(激活版)