非Win7大白菜系统安装教程【图文】
时间: 2018-02-07 来源:www.shenduwin10.com 作者:深度Win10系统很多用户为了追求快速安装会选择ghost win7系统,也有不少朋友追求纯净安装非ghost win7系统,非ghost win7系统安装过程一般比较慢,除了可以解压安装,比较常用的方法是使用U盘安装,下面系统城小编以U盘安装为例教大家非ghsot win7系统安装教程。
非ghost win7系统相关安装方法
nt6 hdd installer硬盘安装win7系统教程
u盘安装win7原版镜像教程(直接刻录U盘安装)
一、安装所需工具
1、4G及以上U盘:大白菜pe制作教程
2、非ghost win7系统下载:非ghost win7旗舰版下载地址
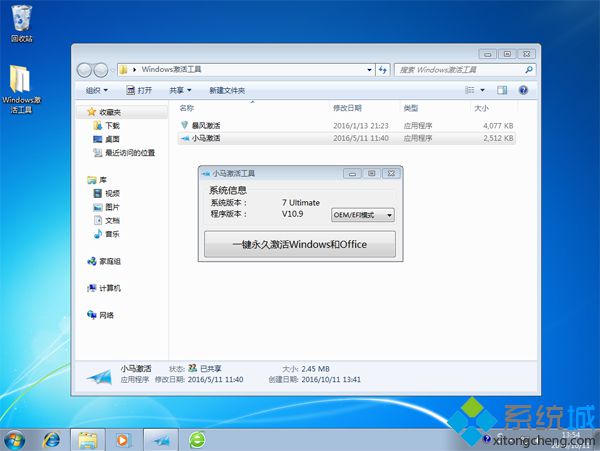
3、激活工具:WIN7激活工具(WIN7 Activation)绿色版
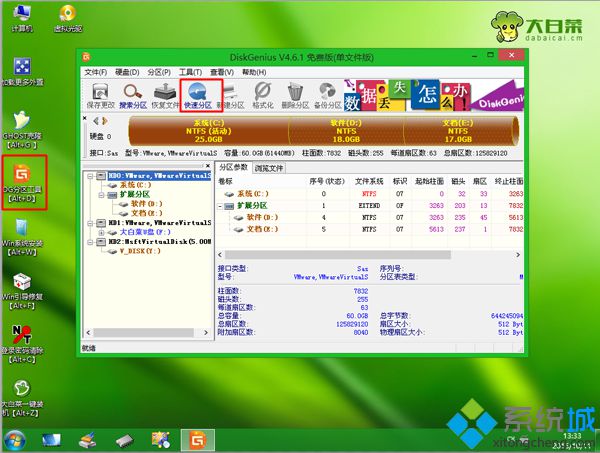
4、分区教程:大白菜固态硬盘分区教程
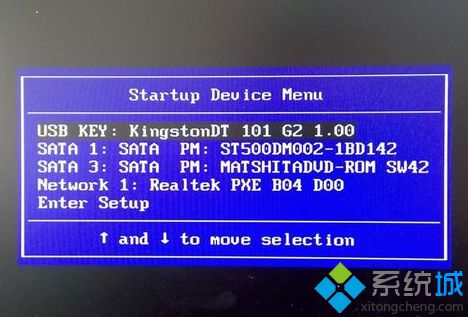
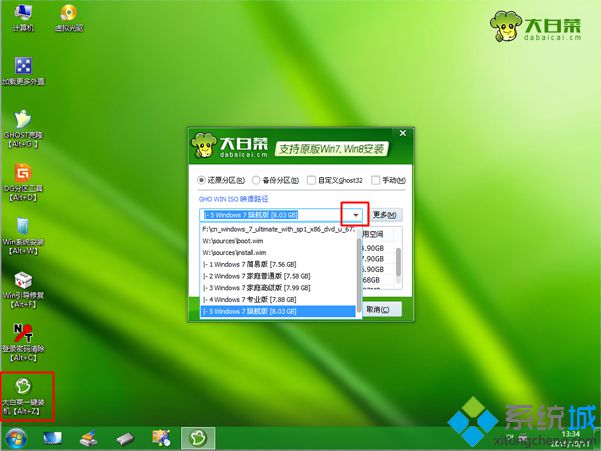
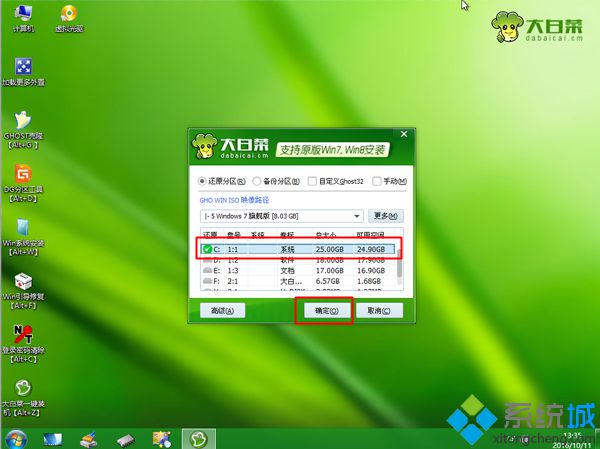
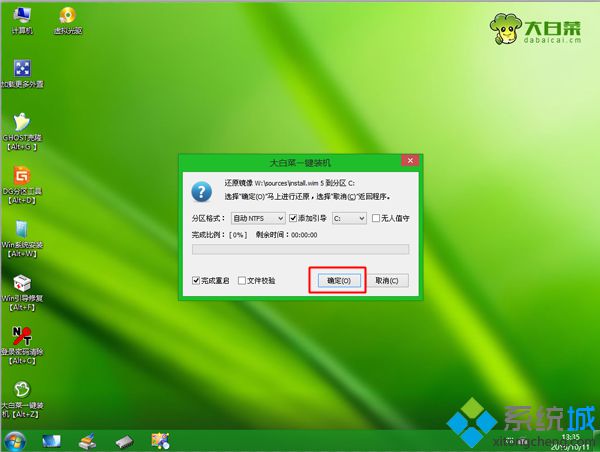
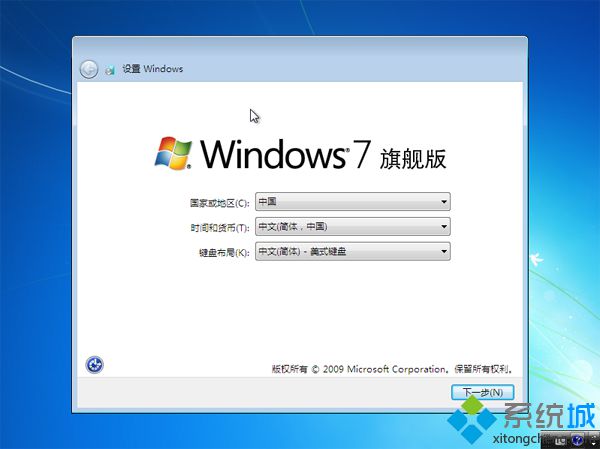
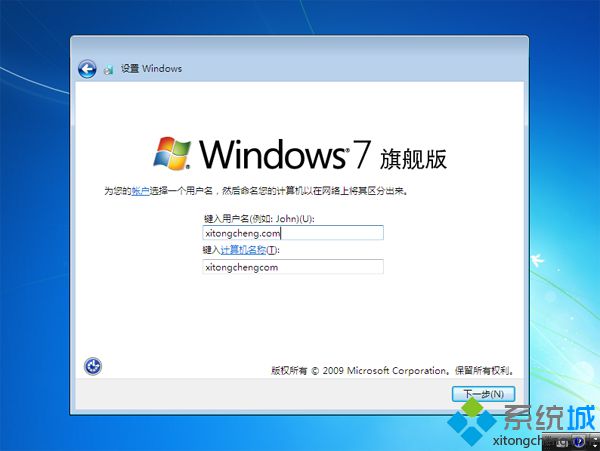
二、非ghost win7系统安装步骤 U盘方法
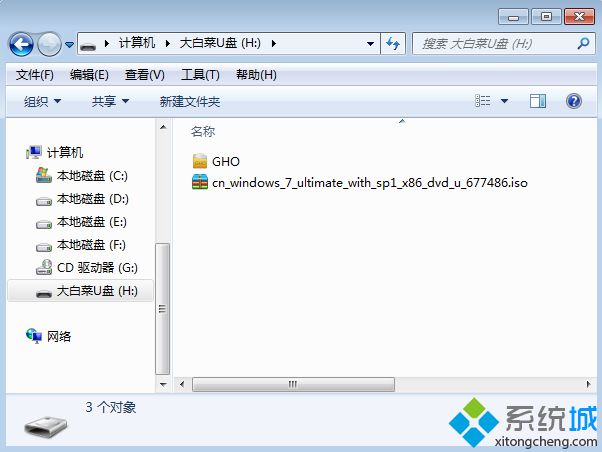
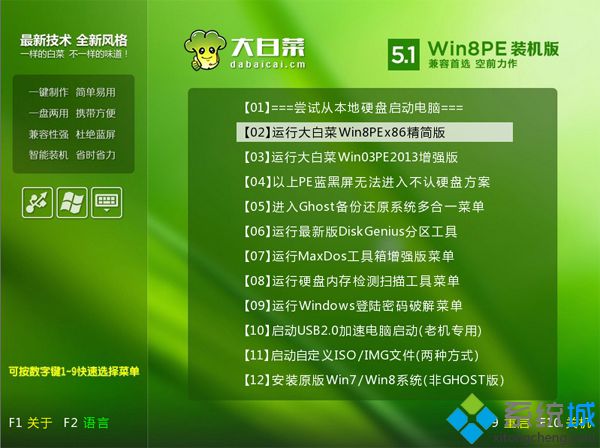
1、制作好大白菜pe启动盘之后,将非ghost win7系统iso文件直接复制到U盘中;

以上是非ghost win7系统U盘安装教程,除此之外,大家还能通过nt6直接硬盘安装,有需要的用户可以学习下这个教程。
相关文章
- 番茄花园 GHOST XP SP3 装机版 2016V09
- 老九系统 GHOST XP SP3 装机版 2016V09
- 雨林木风 GHOST XP SP3 装机版 2016V09
- 新萝卜家园 GHOST XP SP3 装机版 2016V09
- 深度技术 GHOST XP SP3 装机版 2016V09
- 电脑公司 GHOST XP SP3 装机版 2016V09
- 新萝卜家园 GHOST XP SP3 可靠装机版 2016年09月
- 番茄花园 GHOST XP SP3 珍藏装机版 2016年09月
- 深度技术 GHOST XP SP3 优化装机版 2016年09月
- 电脑公司 GHOST XP SP3 完美装机版 2016年09月
深度技术WIN10系统
- 1深度技术 Ghost win10 x64 新年贺岁版 V201
- 2深度技术 Ghost Win10 x64 快速装机版 V201
- 3深度技术Ghost Win10 x64 收藏装机版V20171
- 4深度技术Ghost Win10 64位 增强装机版 2016
- 5深度技术Ghost Win10 X32位 完美装机版2017
- 6深度技术Ghost Win10 32位 专业版 2016.08(
- 7深度技术Ghost Win10 X64 专业增强版 V2016
- 8深度技术 Ghost Win10 32位 专业极速版 201
- 9深度技术 Ghost Win10 64位 五一企业装机版
- 10深度技术Ghost Win10 (32位) 安全稳定版201
深度技术WIN10系统下载榜
 深度技术Ghost Win10 x32位 典藏装机版V201710(自动激活)
  深度技术Ghost Win10 64位 专业版 2016.08(永久激活)
  深度技术 Ghost Win10 X64 特别装机版 2016.03
  深度技术Ghost Win10 (X32) 标准装机版V201712(激活版)
  深度技术 Ghost win10 x64 新年贺岁版 V2015.03
  深度技术Ghost Win10 (64位) 家庭装机版2018.01(激活版)
 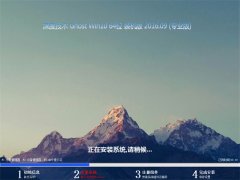 深度技术 Ghost Win10 64位 办公装机版 2016年09月
  深度技术 GHOST WIN10 X86 装机版 V2015.01